How to take great vacation photos
Here we go! The holidays are finally upon us, and you’re eager to make the most of them. This much-deserved time off will be fantastic, and you’re committed to coming back home from this vacation with your hearts full of lovely memories.
This time, you’re determined to step up your photography game. Say goodbye to that feeling of letdown when you return from your trip, and realize your photos fail to reflect the beautiful moments and stunning sights you experienced.
Here are a few tips to learn how to take great vacation photos and feel proud of your work!
Focus on getting your framing right
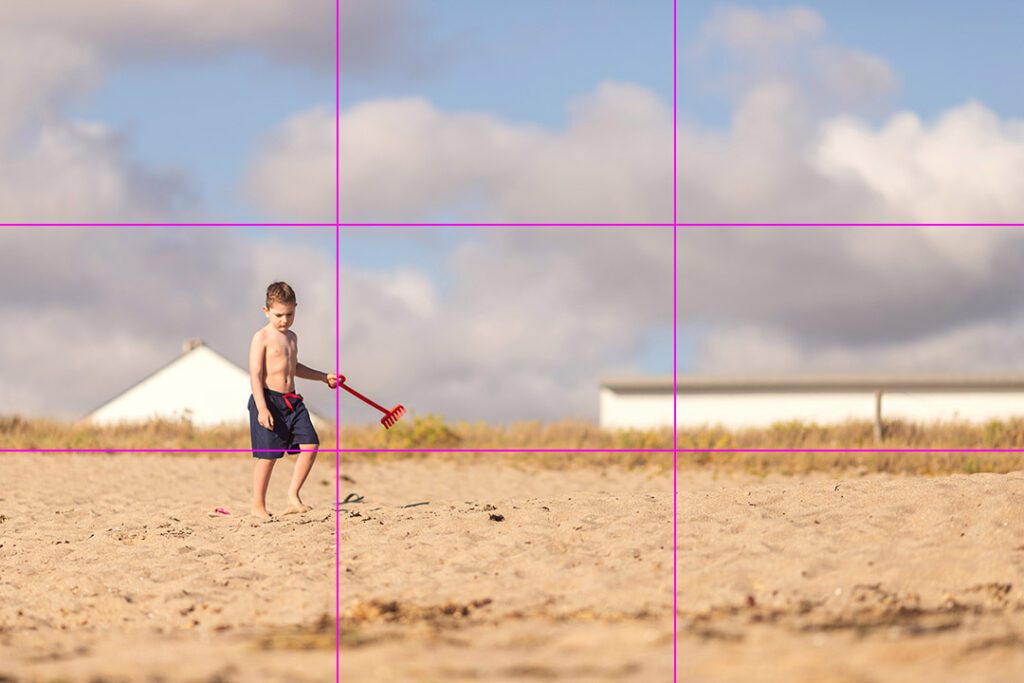
Apply the rule of thirds to direct the viewer’s gaze within the image
Don’t leave just yet, it’s actually very easy! The rule of thirds is the most widely recognized in both painting and photography. It divides an image into nine equal segments through the use of horizontal and vertical lines. What’s the purpose of this rule? To avoid centering the subject in the photo. This technique prevents visually spliting the image in two, and leads to a more dynamic composition, where the viewer’s eye can explore the scene more organically.
Make sure your images are level
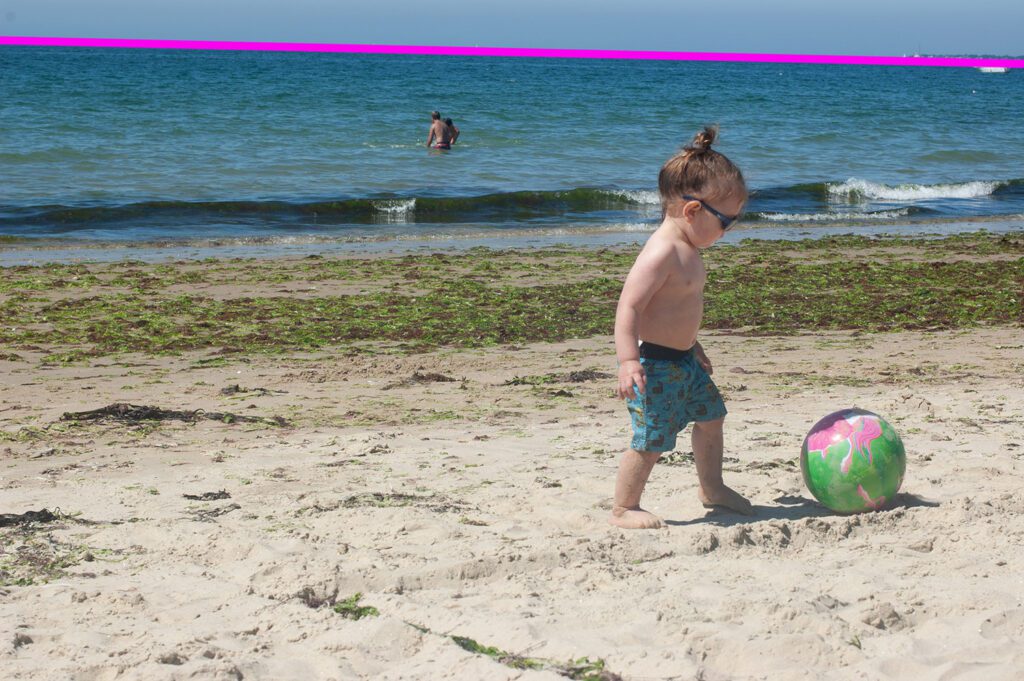
Straightening your photos is one of the best ways to make them look more professional! Be especially cautious with the horizon line on water, which definitely shouldn’t be tilted. Also, watch the lines in buildings, trees, and the general decor. Although you can often correct this in post-production with the ‘crop’ tool, it results in losing some of your image. So it’s better to get it right at the moment of capture.
Here’s an example of what you should avoid when working on your vacation photos, and I want to emphasize that you shouldn’t be too hard on yourself. Everyone begins somewhere! I’ve made these mistakes myself in the past, see for yourself :
Shift your point of view
Try out creative framing options. Don’t shy away from experimenting; it’s okay if you end up not liking the outcome. Trying new things is a key aspect of learning, and so is failing!
Be mindful of avoiding overhead shots, which often occurs when an adult photographs a child. Because the child is smaller, an ‘above’ perspective is likely if you don’t adjust your position. Try squatting, lowering your camera and using live view, or sitting down.
Make intentional choices in your composition
Think about what you include in the frame of your photo. Don’t hesitate to step back to add context, or move closer for details. If you don’t like something that’s in the frame, hide it! Just move it out of the way: if it’s a tourist, wait for them to move; if it’s an object, adjust your composition.
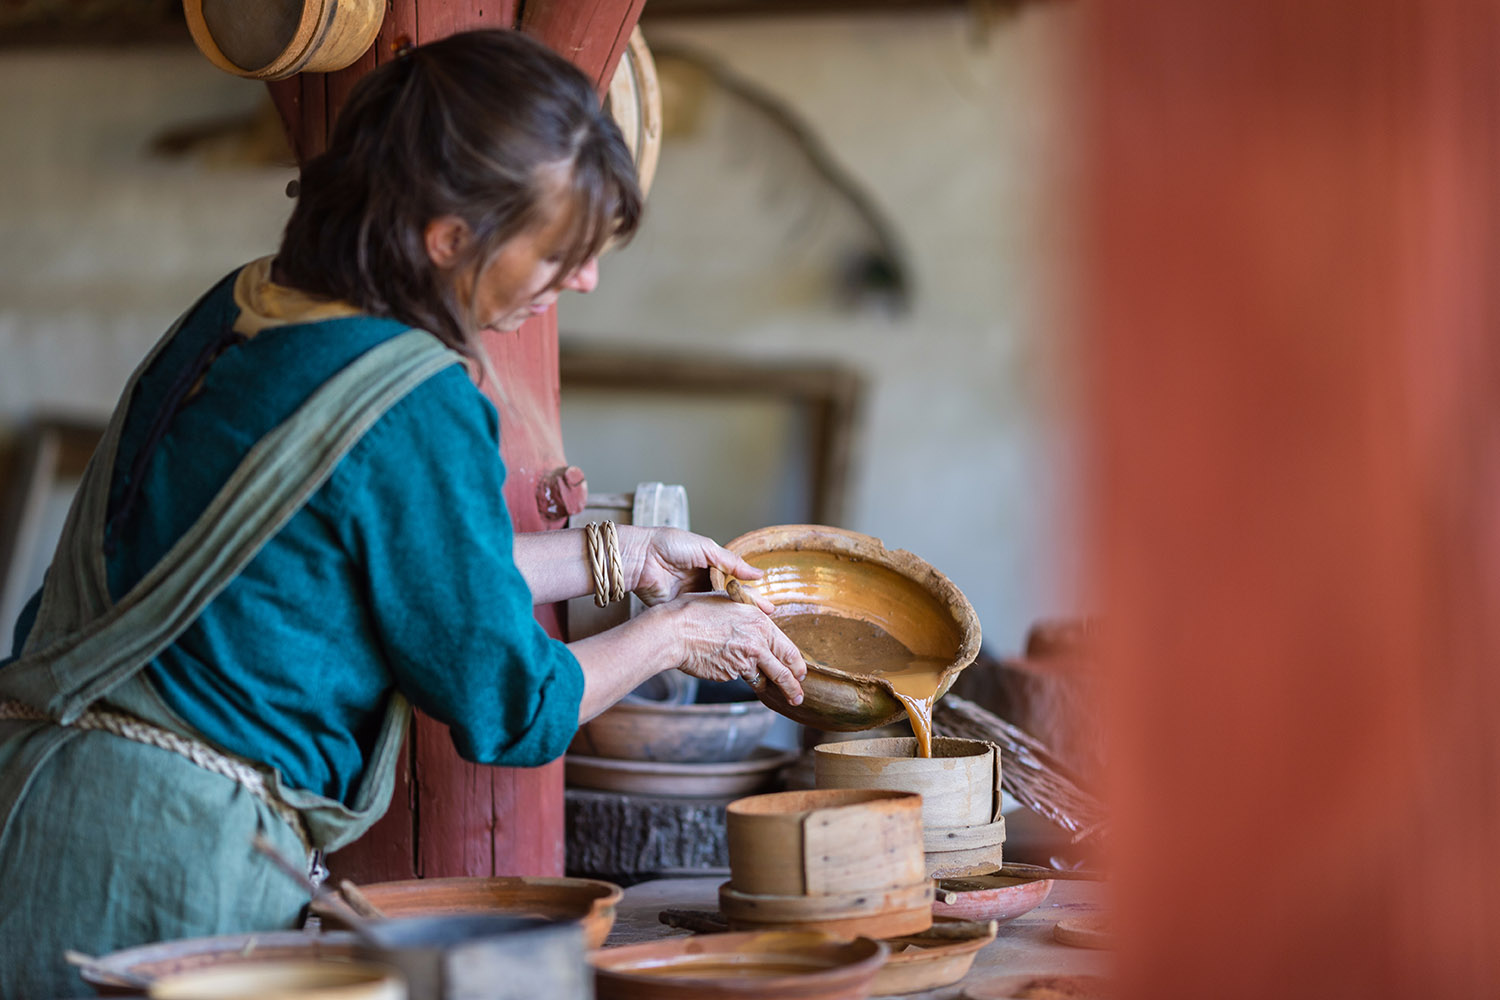
In the same way, pay attention to your framing to avoid cutting off the tip of a hand or the top of a head, when you can. Here’s an example of framing during a holiday visit. To exclude other tourists from the shot and make the hands of the woman stand out, I just ‘concealed’ everyone behind the red wooden post on the right.
Tell a story
The purpose of your keepsake photo is to evoke the moment in the most genuine way possible. For your image to achieve this, it needs to narrate the story precisely. This is what will allow you to relive those moments when you look at your photos later (when you’re back from vacation and could really use a little boost of positive vibes).
Think about your story when you’re taking the shot
It’s great not to overthink things sometimes, and to quickly snap a photo to capture the moment. We all do it, and there’s no reason to hold back! But if you want to work on improving your images overall, make it a habit to think about your photo before you press that button. You’ll quickly get the hang of it, I promise, and over time, it will become second nature.
Practice asking yourself, before each photo: “what story do I want to tell?” Then, make your shot conveys the mood you want it to.
Avoid the “everyone look at me and smile!” poses
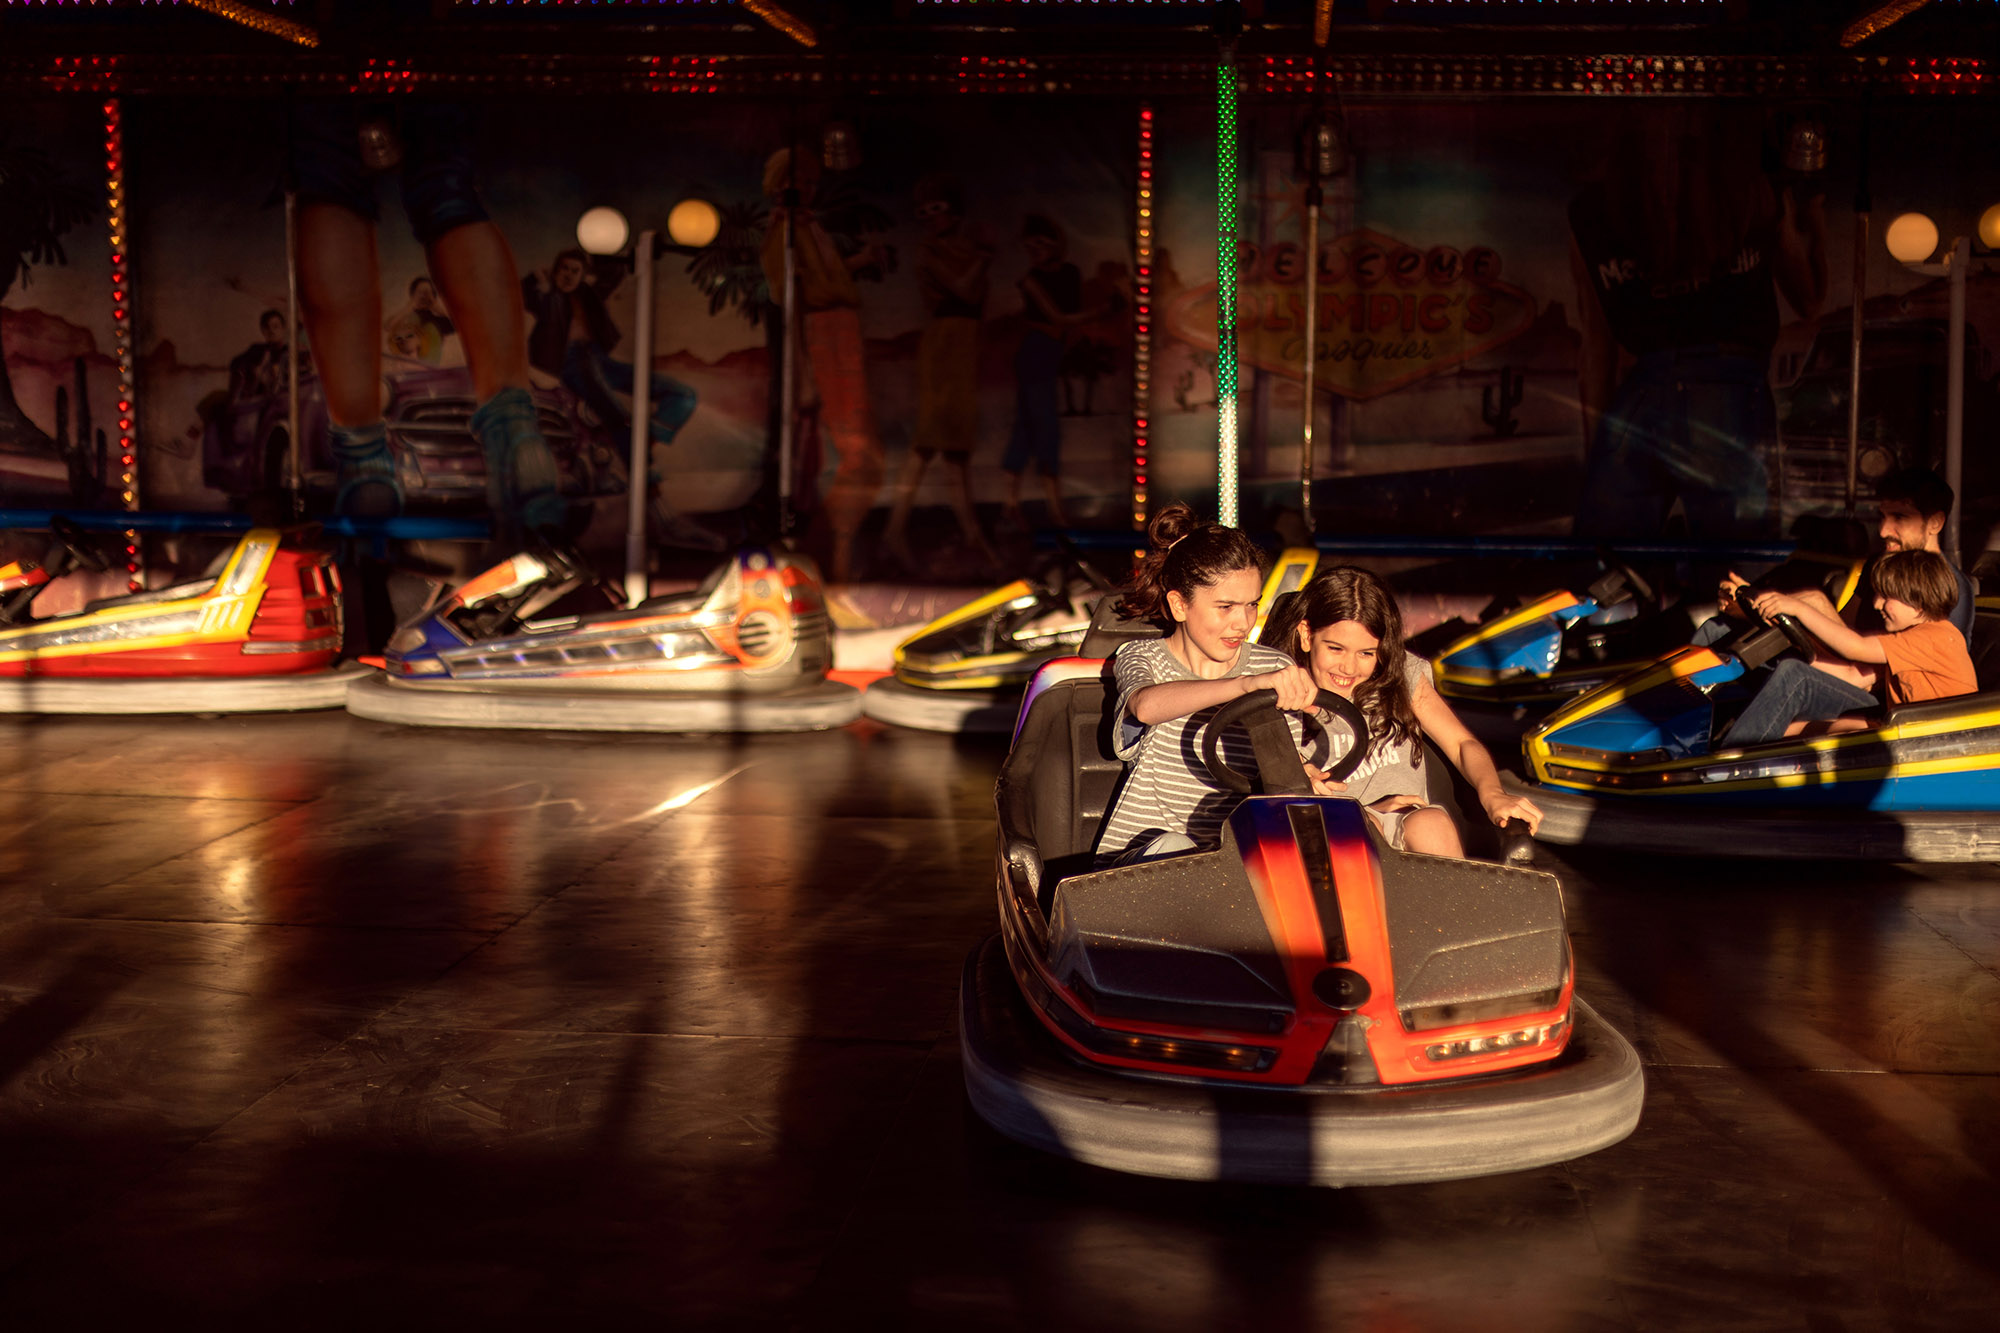
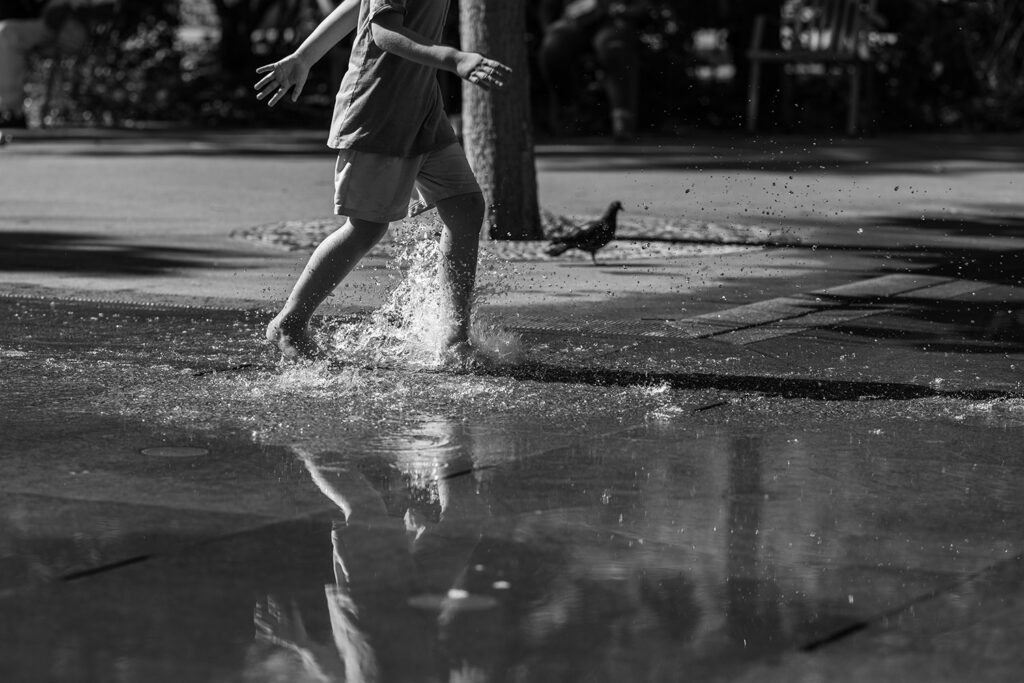
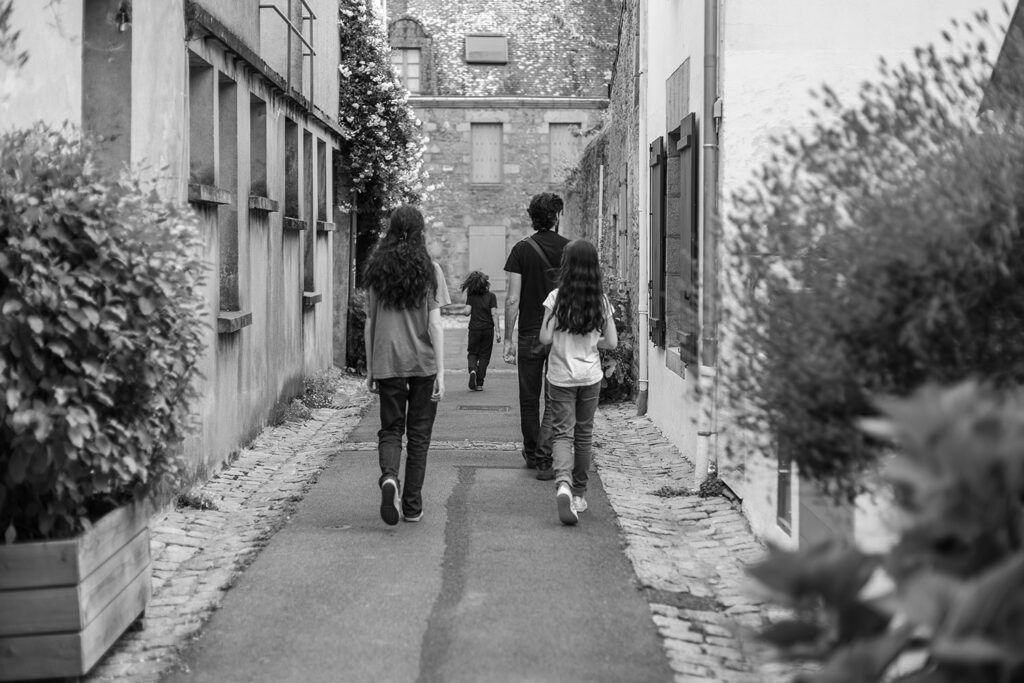
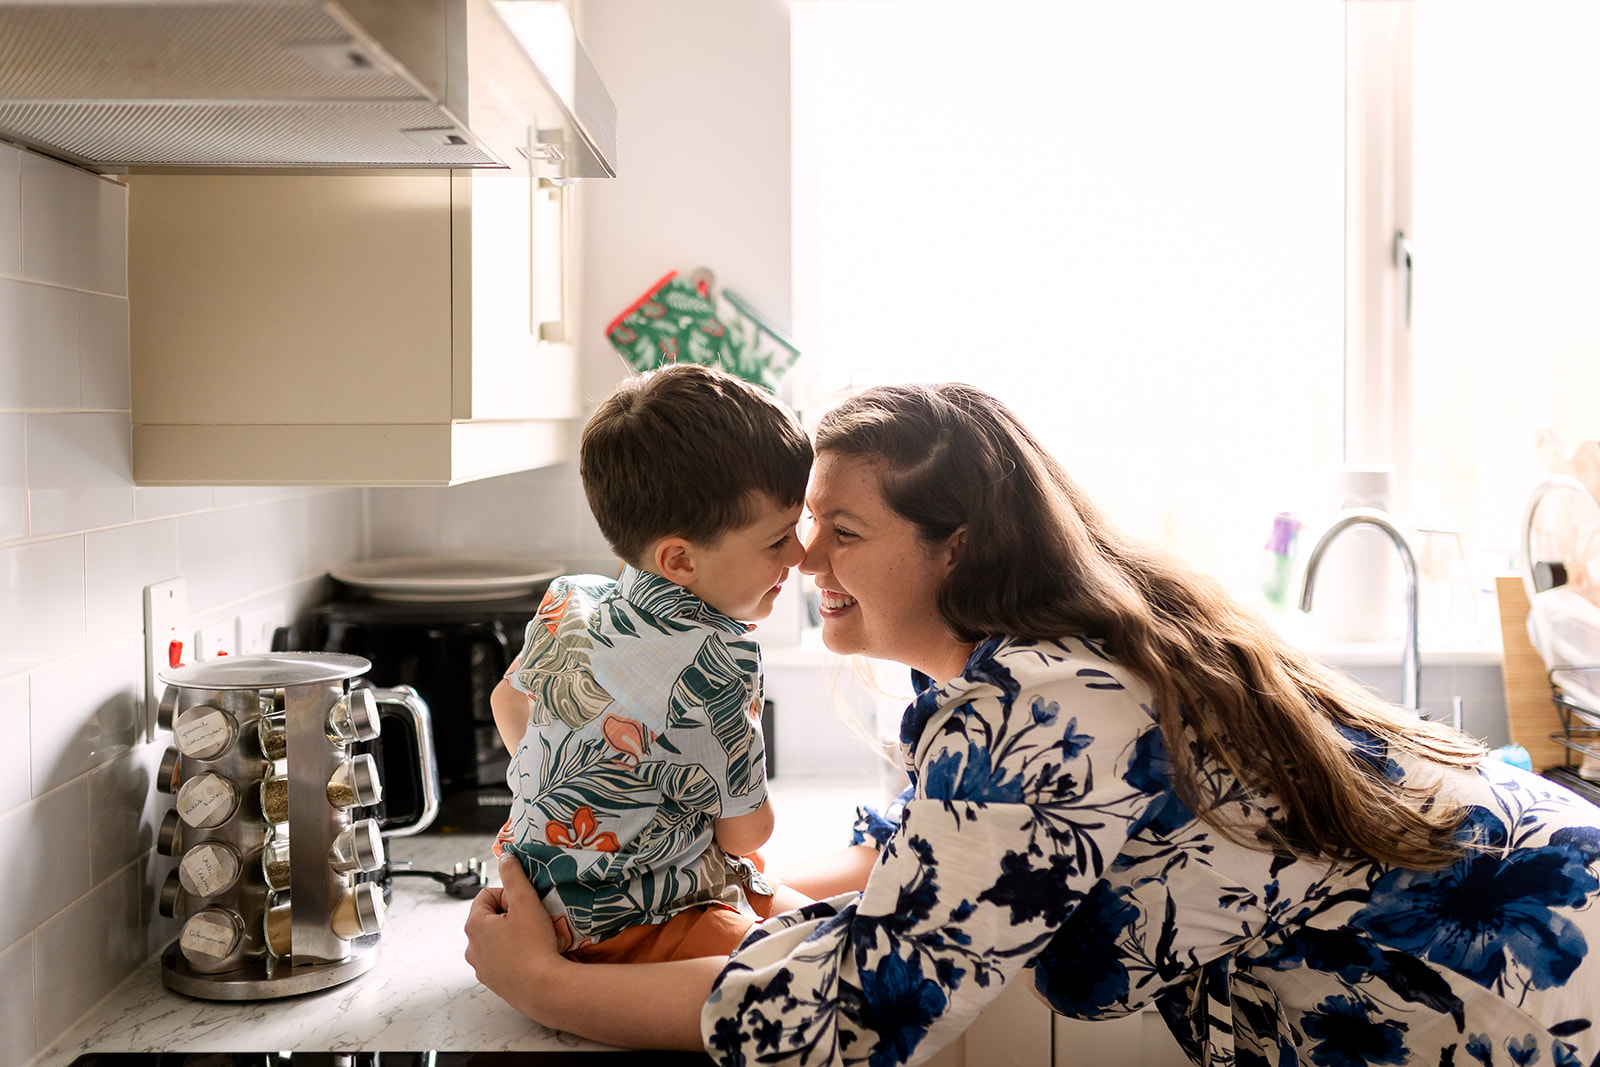
Does “say cheese!” sound familiar? It’s the go-to for souvenir snapshots, and everyone’s done it. However, I suggest you try something a bit more documentary-style because you’re really here to capture your holiday experiences through photos. Instead of just posing in front of landmarks with a grin, why not take a bunch of candid shots where you’re just enjoying life? Look at the view, play in the pool, have meaningful talks with your loved one, eat ice cream, buy a souvenir in that little shop in town. That’s what your vacation was all about, right?
By approaching your family vacation photography like a photojournalist instead of a studio for ID pictures, you’ll capture the story authentically. Although we can’t deny that photo booths are also a blast, so do that too sometimes!
Feel free to set the scene for your shots
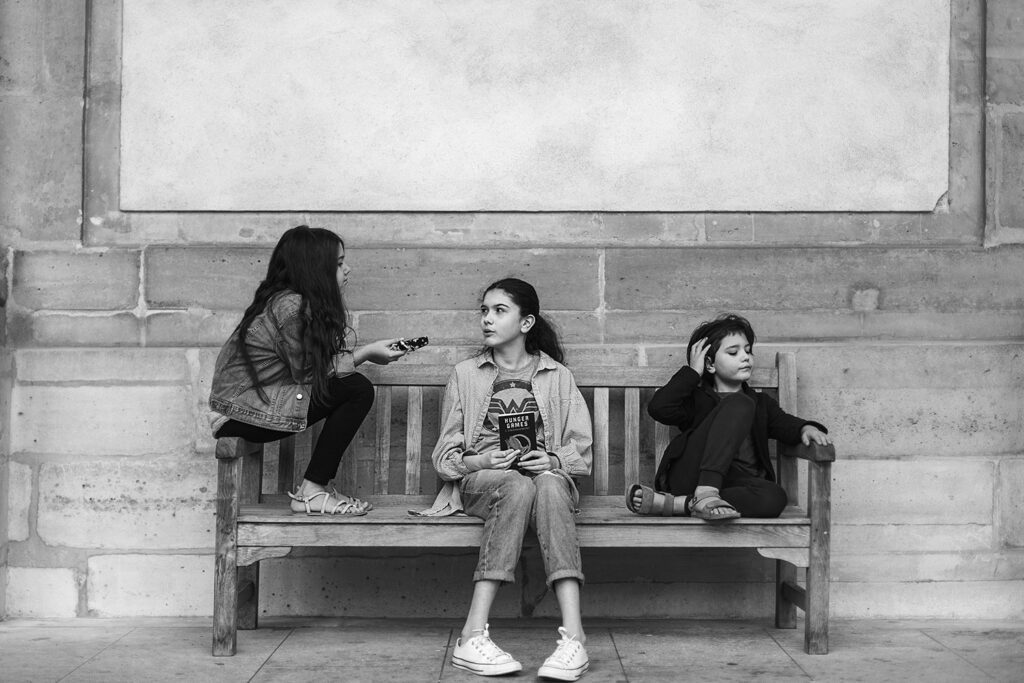
“Wait, what? Didn’t you just tell us not to pose?” Don’t worry, some staging is fine, it’s just relaxed posing (just don’t overdo it, you don’t want to look like a Renaissance painting, do you ?) You are the storyteller and director of your photo! It simply involves guiding your subjects to do what you want in a very natural way. If you tell your subject, ‘Look at me and smile,’ you’re likely to end up with a somewhat awkward photo where your subject doesn’t look very photogenic. Instead, tell them a joke, share a good memory, or give them a heartfelt compliment. And voilà! A natural, authentic smile that isn’t awkward at all.
In the same way, you can guide your family by showing them where to sit, and encouraging them to talk to each other, or to walk towards you holding hands while gazing at one another. This approach will result in much nicer vacation photos than the traditional “everyone in a neat line in front of the landmark saying cheeeeeese” (although, of course, you’re welcome to take some of those photos too; Grandma loves them!).
Change your perspective
When you watch a movie, you notice that the camera shifts between different angles. You’ll see wide shots that provide context, followed by close-ups of details. Visualize your family vacation documentary as a little movie, and introduce variety. This will help you create beautiful albums with collections of images that perfectly capture the atmosphere.
don’t overlook lighting
Avoid hard light
Hard light refers to direct sunlight that creates unpleasant shadows and can cause your subject to make funny faces. Unless you have a good understanding of how to manage this type of lighting, it is generally not recommended for beginners. Avoid taking photos during peak sunlight hours in the summer, unless you can find some shade. If you find yourself in a situation where you have no choice, ensure your subject positions themselves so that they can “see their shadow” at their feet. The light source should come from their back or slightly to the side, preventing sunlight from shining directly into their face and eyes.
Aim for soft light
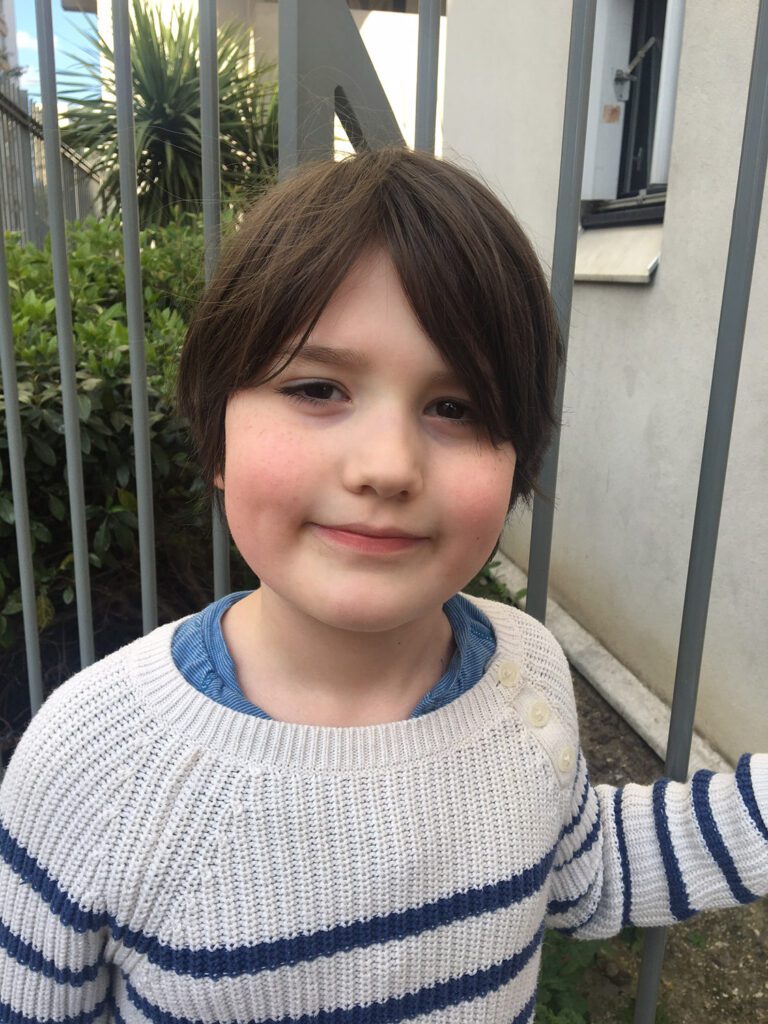
Soft light is even and indirect. Positioning your subject in open shade can allow you to capture the most light without it being direct. Properly managing light can greatly improve your family vacation photographs. For example, here are two photos taken with a phone: the first shows harsh light, where the subject doesn’t see their shadow (with direct sunlight), while the second captures soft light just a few meters away in the open shade of a small wall.
Enjoy Golden Hour
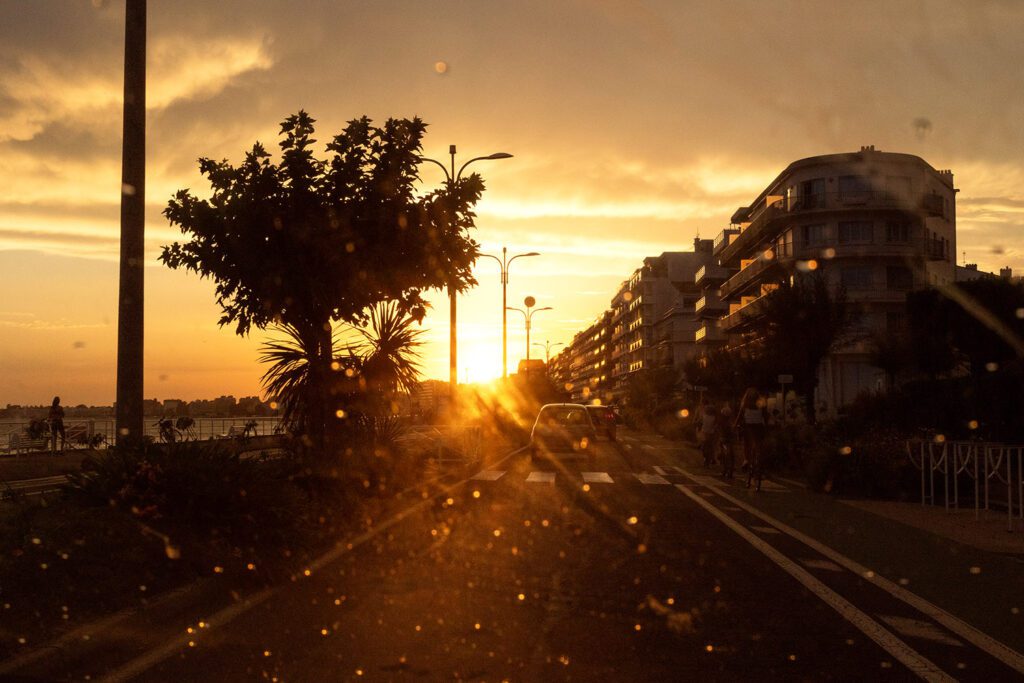
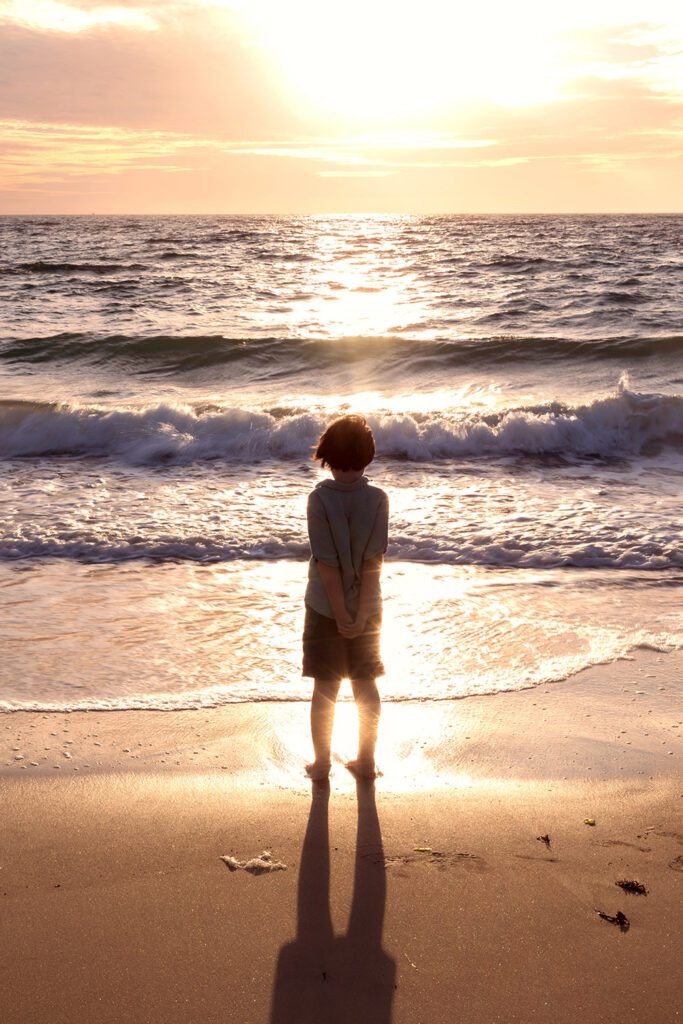
Golden Hour is that magical moment when the light turns golden, and it happens every sunny, cloudless day at sunrise and sunset. It’s a brief time frame that changes with the seasons as days grow longer or shorter. There are many mobile apps and even a website that can help you determine Golden Hour based on your location and the day of the year.
In addition to offering a breathtaking show, the sunrise/sunset will instantly add a magical and heroic flair to your family vacation photos. So why not take advantage of it?
Don’t underestimate the importance of post-processing
Cull your images
You’ve just come back from your vacation, and you start going through your family photos. I know what you’re thinking, and let me tell you : no, not all of them turned out great, so brace yourself and sort them out. Take on a relaxed yet critical mindset: channel your inner Marie Kondo for your photos!
Be realistic and delete duplicates. With digital photography, it’s easy to overshoot, thinking it will increase your chances of capturing the perfect shot, and don’t feel guilty about it! I do it too. Now come on, be brave, open your photo folder, and take a good look at your work. If you don’t want to delete sentimental photos, no worries. Just move them to a separate folder and keep focusing on your best shots. Having too many photos will hold you back from printing and displaying them!
Use an editing app
Don’t be scared! If you’re picturing a complicated software interface, let me put your mind at ease. I’m not suggesting you dive into learning Lightroom (though if you’re up for it, then by all means!). There are now several simple and intuitive editing apps available. Some mobile versions are even free, like Photoshop, and you can get the hang of them in just a few minutes.
Editing your images is an excellent way to infuse them with your personal style. Adjusting light, contrast, colors, and cropping allows you to add that final touch to your vacation photos, so go for it! You’ll feel even prouder of the results, and you’ll truly cherish your images. However, avoid using ready-made filters, as they tend to be more impersonal and don’t suit all lighting situations.
Print, print, print!
Now that your beautiful family vacation photos are neatly organized and edited with love, don’t let them gather dust on a hard drive! I strongly recommend printing them; it would be a shame to put in all that effort and not enjoy the results. Capturing great family vacation photos is fantastic, but if you end up forgetting about them because they live somewhere on your computer, that would be just sad.
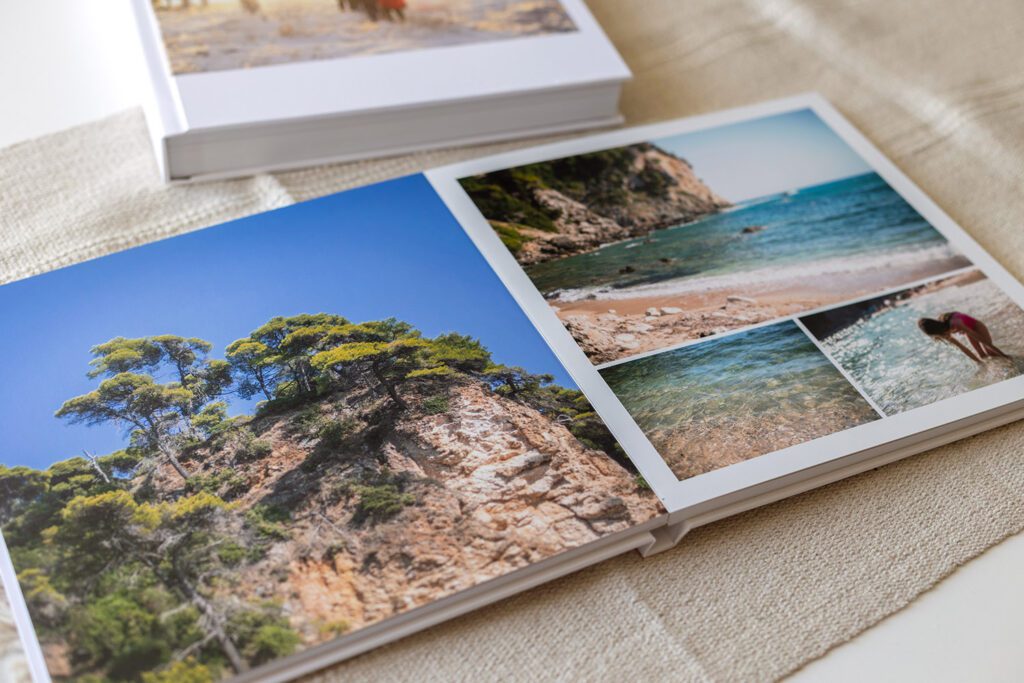
It’s up to you to decide how you print your pictures, but when it comes to family vacation photos, I like to make albums. At home, we have one for every travel or summer vacation. Albums are great because you get to choose your layout and tell the story!
You are now ready to get started and take great vacation photos of your family. Before I go, here’s a bonus tip that can’t be stressed enough: have fun!
Don’t forget to download my mini course “documenting your family”, it’s free!
-
Help, my house is messy! Can we still do photos at home?
If you’ve ever thought “I’d love family photos at home… but my house is a mess”, you’re not alone. As a family photographer in Dublin, I know that many parents worry about having a small or messy home. The good news? It doesn’t stop you from having beautiful, natural photos! My approach…

